In this article I would like to know
you about displaying uploaded file data content from
file upload input control to show in iframe. For this take a html file
and js file, html is for designing of view and js is to write the angularjs
code, to use the angularjs add the angularjs files. The below code shows the
implementation of how to display the uploaded file in angularjs and jquery.
To
display file in html using JQuery, the html tag will be as follows:
And
for AngularJS, the html tag will be as follows :
And
to bind the data to the html input controls, code is in js file.
The
below code shows the implementation of how to display the uploaded file in
angularjs and jquery.
Index.html
AngularJS And WebAPI - Display Uploaded File Data In IFrame
Index.js
var app = angular.module('angulardisplayuploadedfiles', []);
app.directive('ngFiles', ['$parse', function ($parse) {
    function fn_link(scope, element, attrs) {
        var onChange = $parse(attrs.ngFiles);
        element.on('change', function (event) {
            onChange(scope, { $files: event.target.files });
        });
    };

    return {
        link: fn_link
    }
}]);
app.controller('DisplayUploadedFileInIFrameController', function ($scope, $sce) {
    var serviceBasePath = 'http://localhost:56691';


    $scope.files = [];
    $scope.encodedbase64_file = [];

    ////TO GET THE FILE INFORMATION.
    $scope.getFileDetails = function ($files) {

                    $scope.$apply(function () {

                        //// STORE THE FILE OBJECT IN AN ARRAY.
                        for (var i = 0; i < $files.length; i++) {

                            setupReader($files[i]);

                        }
                        function setupReader(file) {
                            var name = file.name;
                            var reader = new FileReader();
                            reader.onload = function (e) {
                                // get file content
                                var base64EncodedFileResult = e.target.result; // the encoded string
                                var trimBase64 = base64EncodedFileResult.substring(base64EncodedFileResult.indexOf("base64,") + 7);
                                var fileType = base64EncodedFileResult.substring(5, base64EncodedFileResult.indexOf(";"));
                                var decodedFileContent = atob(trimBase64);
                                var byteArray = new Uint8Array(decodedFileContent.length)
                                for (var i = 0; i < decodedFileContent.length; i++) {
                                    byteArray[i] = decodedFileContent.charCodeAt(i);
                                }
                                var blob = new Blob([byteArray.buffer], { type: fileType });  //filetype = 'application/pdf', image/jpg
                                var _fileurl = URL.createObjectURL(blob);
                                 $('#file-holder').attr('src', _fileurl); //to disply source file in IFrame using JQuery
                                 $scope.fileSrcUrl = $sce.trustAsResourceUrl(_fileurl); //if '$sce' is not there then 'Can't interpolate: {{fileSrcUrl}}' error comes
                                 $scope.$apply();
                            }
                            reader.readAsDataURL(file);
                            // reader.readAsDataURL($(this)[0].files[0]); // in jquery

                        }

                    });


        }


});
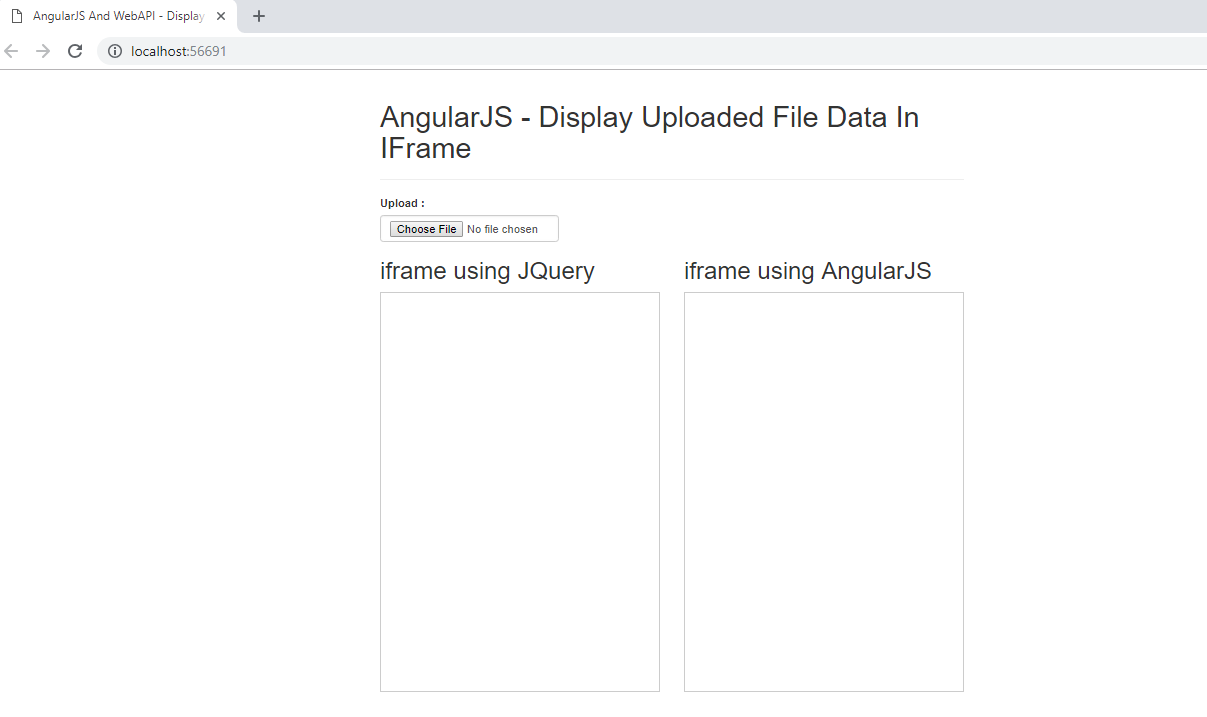
Output :
After
running the application it looks as below :

Now
upload a pdf or jpg or jpeg or png etc, it looks as below :
Note
: Except DOC files and TIFF files, it supports max number of formats
I tried the above example but not displaying the contents of uploaded file and in console also no error can you provide me the source code for this particular task.
ReplyDelete